Removing All Side Trims
The following trims can not be removed, they are molded within the bumper / pannel.
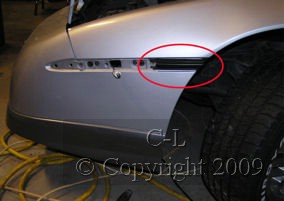
Front Nose - This highlited section is NOT present on the Aero nose on the "FastBack" GT from 1986+. The non aero Front nose MAY also have unremovable trims either ribbed or smoothe depending on the model and the year. For example, the NON-Aéro nose have a nonremovable trim that extends the whole lenght of the front nose.
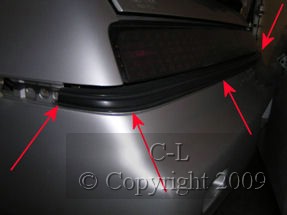
Rear Bumper - Again, the 1986+ Fastbacks do NOT have the circled trim. All rear bumbers have some unremovable trims either ribbed or smoothe depending on the model and the year
B1 - Before you can remove the trim, the first step is to remove the front whellhouse panel.
B2 - Once removed, you will have to remove the 2 nuts from INSIDE the wheel well

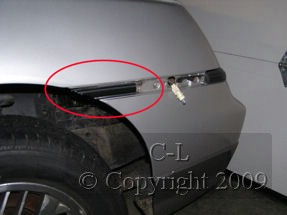
B3 - Remove the 2 screws holding the bumber (under the side marker)
B4 - Push the fender sideways, with a ratchet, remove the 2 nuts
B5 - Once the 2 nuts are removed, pull the trim loose
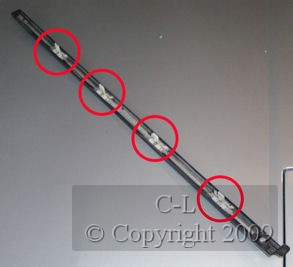
C1 - Remove Front Inner whellhouse panel (in not already removed)
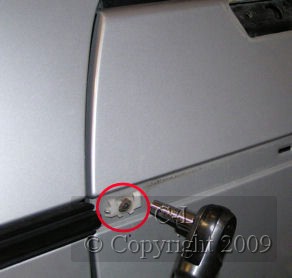
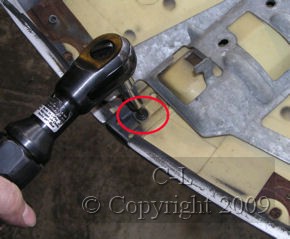
C2 - Remove the 2 nuts from the rear inside the Front Fender
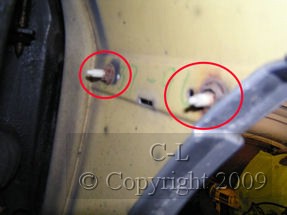
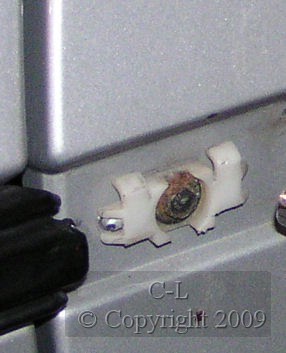
C3 - Remove the rear clip (by turning it from the inside)

C4 - Remove the front clip (by turning it from the inside) and the trim will be removed
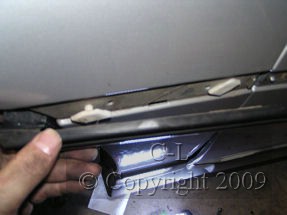
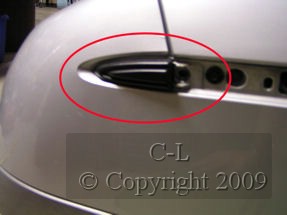
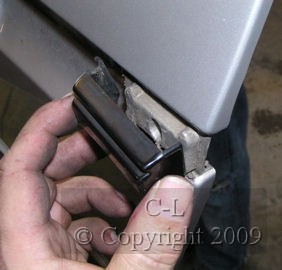
D1 - Lift the door handle and remove the front trim cap
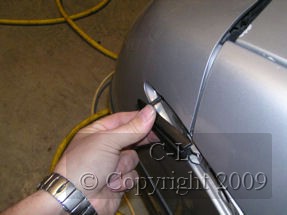
D2 - Grab the door handle end and push the trim upward (as much as you can). While keeping the upward pressure, twist the UPPER part of the trim outward. This will snap free the trim from the FIRST clip. Repeat the step for the other 3 clips.
Note: These clips are often old and brittle, the break very easilly.
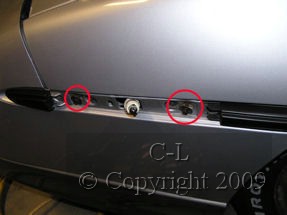
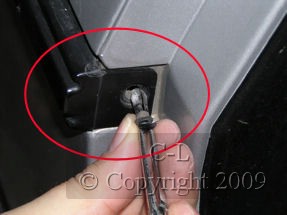
D3 - Pull the trim free from the front clip (the plastic clips are very dry, they break very easilly)
D4 - You can remove the clip's screw (it holds the doorskin to the door frame... it MUST be removed if you also want to remove the door skin)
E1 - Before you can remove the Door Panel Rear Trim, the first step is to remove the Inner door Panel.
See "How To" Remove the Inner Door Panel
E2 - The next step is to remove the Outter Door panel.
See "How To" Remove the Outter Door Panel
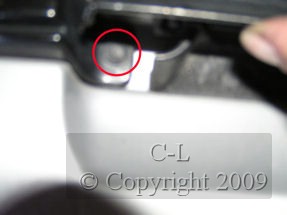
E3 - Remove the door trim screw behind the door panel
E4 - The rear door trim can now be removed
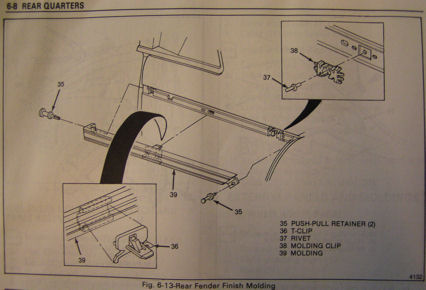
F1 - Remove trim screw in rear wheel well
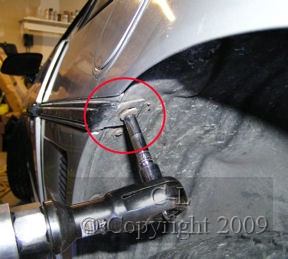
F2 - Remove front rivet

F3 - Pull on the trim untill it "breaks free" (the plastic clips are very dry, they break very easilly)

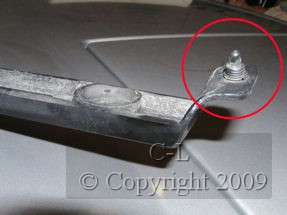
F4 - If the large clip needs to be removed, push the center tab downward and pull the clip out
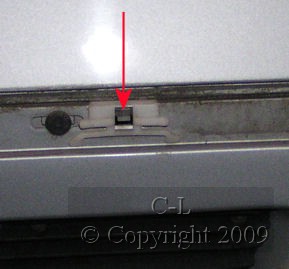
F5 - If the small clip needs to be removed, drill out the black plastic rivet's center pin and pull the clip out

F6 - Schematic: